

Last updated September 10, 2026
Full 25-point door and opener safety check with every visit - springs, cables, rollers, tracks, and your LiftMaster or Chamberlain opener included
You get a price before we start. It does not change when the truck arrives.
 Before
 After
After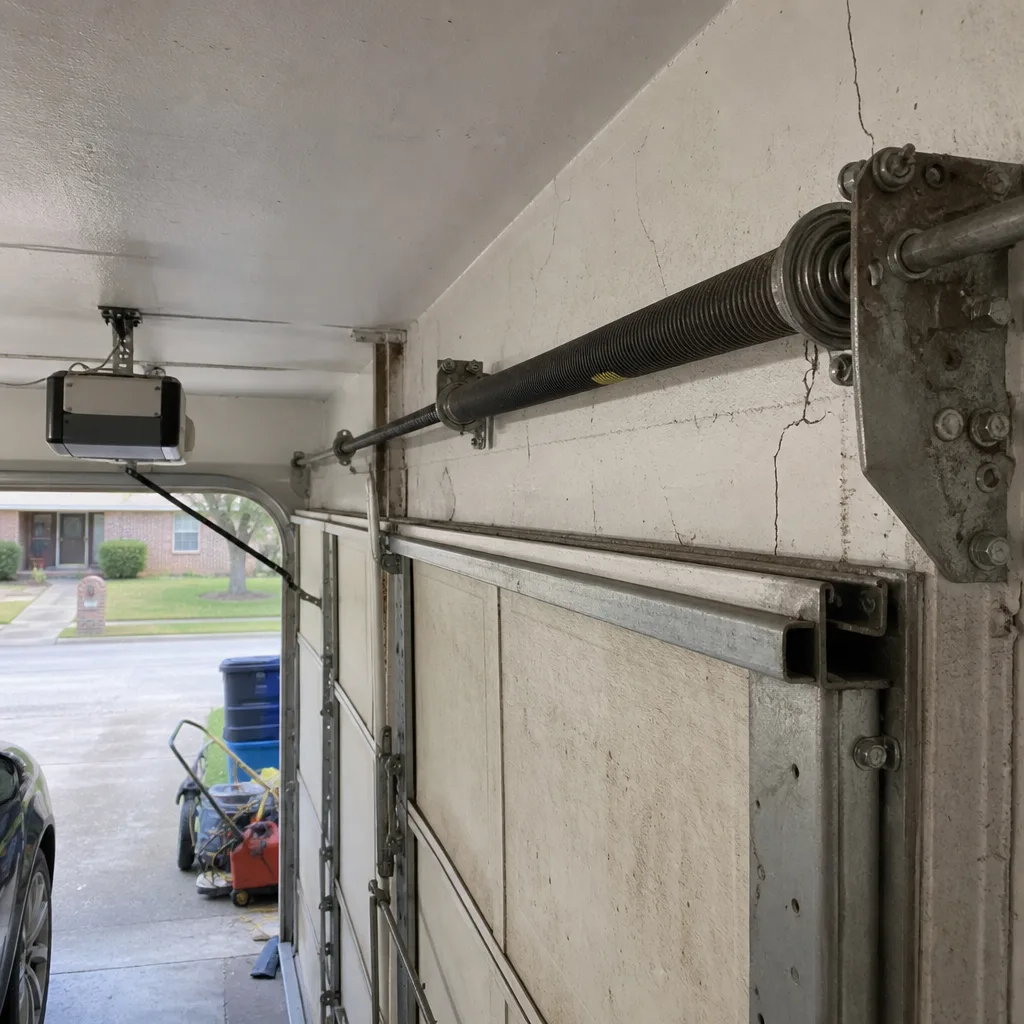 Before
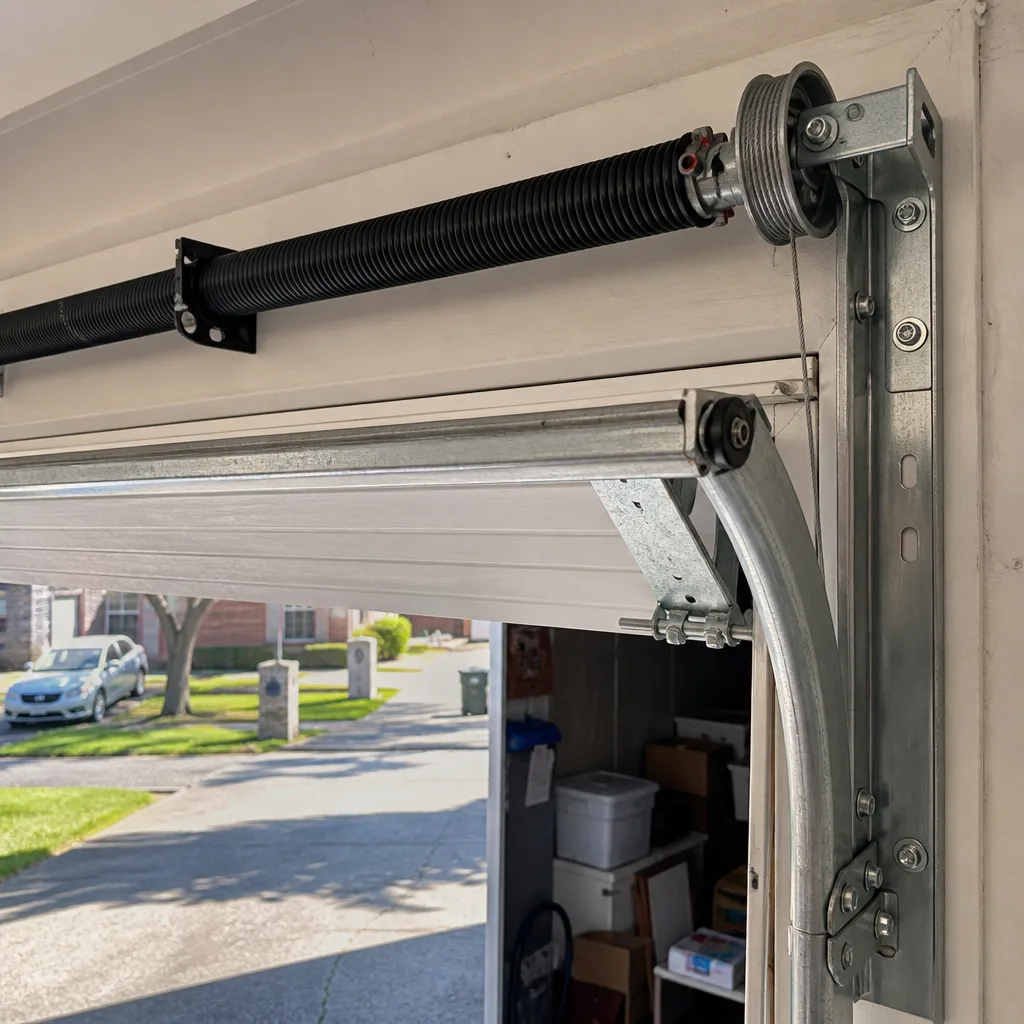 After
After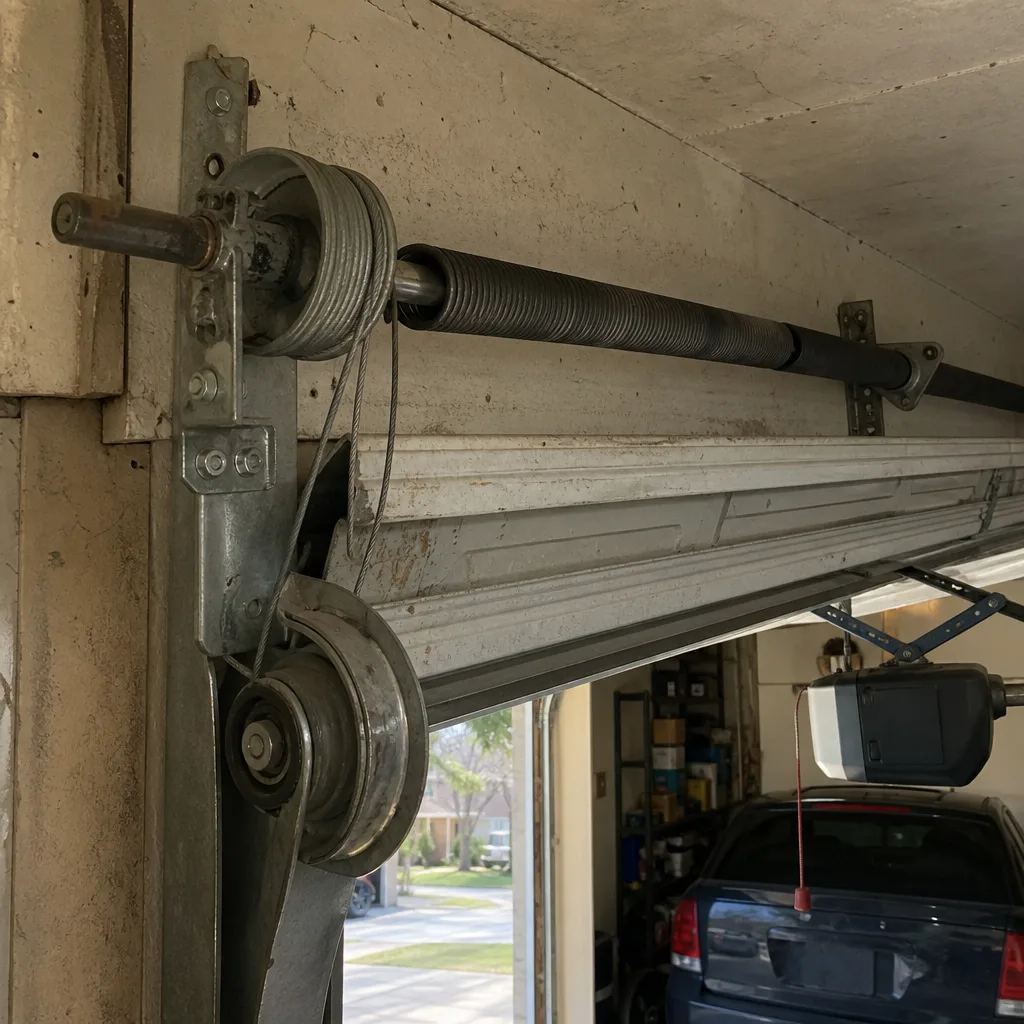 Before
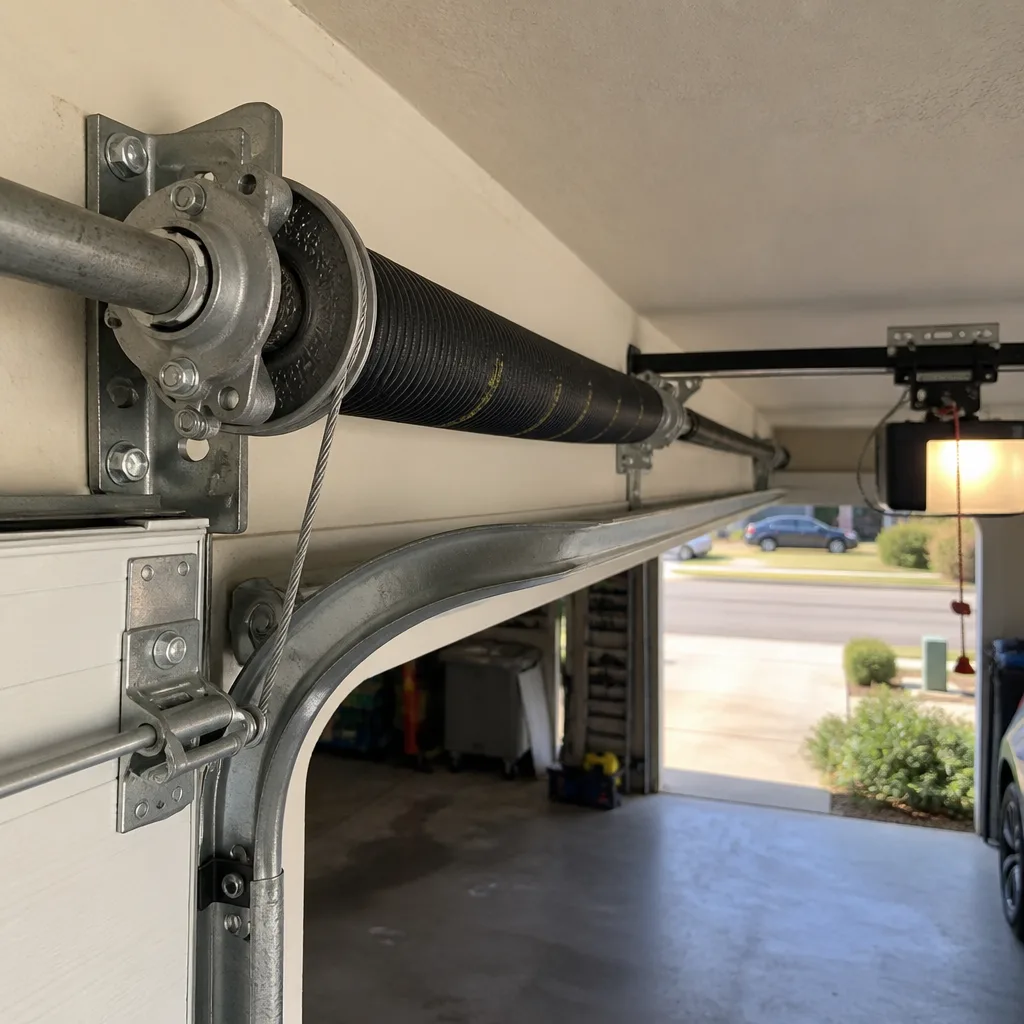 After
AfterGarage Door Repair Maintenance Checklist for Garland Homeowners
In Garland, a garage door opens and closes somewhere around 1,500 times a year. Most of those cycles happen without a sound, without a hitch, without you thinking about the 200 pounds of steel riding on two coiled springs above your car. Then one Friday afternoon, the door refuses to lift and you’re late for pickup at the kids’ school. Here’s the part nobody tells you: the failure that strands you almost always started six months earlier as a forty-cent bolt walking itself loose. Over 29 years of providing Garage Door Repair services in Garland, I’ve learned that doors don’t die suddenly. They get ignored slowly. This checklist is built from the failure patterns I’ve actually seen in Garland homes since 2004, ranked by how fast each problem turns expensive if you let it slide.
Quick Answer
A garage door maintenance checklist for Garland homeowners should cover five things, in order: tighten all hinge and track bolts twice a year, lubricate only the metal moving parts (never the plastic gears or belt), test the auto-reverse safety sensors monthly, listen for roller wear versus track misalignment, and check spring balance seasonally before the Texas heat and again before the first cold snap. Fifteen minutes twice a year prevents most calls I make.
Table of Contents
- The Garland Checkup Order: What to Inspect First
- Fasteners That Loosen Under Texas Heat Cycles
- The Noise Map: Squeaks, Skips, and Shudders
- Lubrication: What to Hit and What to Skip
- Safety Sensors and Auto-Reverse: The Monthly Test
- Spring Balance: The 15-Second Test That Predicts a Breakdown
- Garland Seasonal Record-Keeping: What to Check Before Summer Heat and Cold Snaps
- Common Mistakes to Avoid
- When to Call a Professional
- Frequently Asked Questions
- The Bottom Line
The Garland Checkup Order: What to Inspect First
I tell every homeowner in Garland the same thing: work from the bottom up, from the cheapest fix to the most expensive. The reason is simple. If your door is making a noise, the cause is usually something small that has been failing for weeks. Finding it early costs you nothing but ten minutes. Finding it late costs you a service call at minimum, and a new opener or spring at worst.
Here’s the order I use when I walk into a Garland garage:
- Lift the door halfway by hand. If it stays put, your springs are still carrying their share. If it drops or climbs, skip to the spring balance section below. This one test tells you more than any other single check.
- Run the door through a full cycle with the opener. Watch the tracks. Listen for any change in pitch. A healthy door sounds the same from start to finish. A door that changes sound halfway up is telling you something is catching.
- Check the bolts. Every hinge bolt, every track bolt, every lag screw holding the track to the wall. I’ve tightened thousands of these in Garland garages. One loose bolt on the bottom bracket is the classic Friday afternoon emergency.
- Eyeball the rollers. Rollers wear unevenly. The bottom roller on the side where the door is heaviest always goes first. If a roller looks flat-spotted or wobbles when you spin it with your finger, it’s done.
- Test the safety sensors. Put a roll of paper towels in the door’s path and close it. The door should reverse within two seconds of contact. If it doesn’t, you have a real safety problem, not a minor annoyance.
This order matters because each step catches a problem before it cascades into the next one. A loose bolt left alone becomes a bent track. A bent track left alone becomes a broken roller. A broken roller left alone becomes a door off its hinges and a car trapped inside. I’ve seen the full progression in the Sachse and Rowlett areas, and every time the homeowner says the same thing: “It was fine last week.” It wasn’t fine. It was failing quietly.
Fasteners That Loosen Under Texas Heat Cycles
Garland gets hot. Not Phoenix hot, but hot enough that the metal in your garage door expands and contracts every single day, from the low 70s at dawn to 100-plus by mid-afternoon in July. That thermal cycling is a slow, patient loosening machine. It works on specific fasteners more than others, and if you know which ones, you can catch them before they cost you a door.
The three fasteners I tighten most often in Garland garages are:
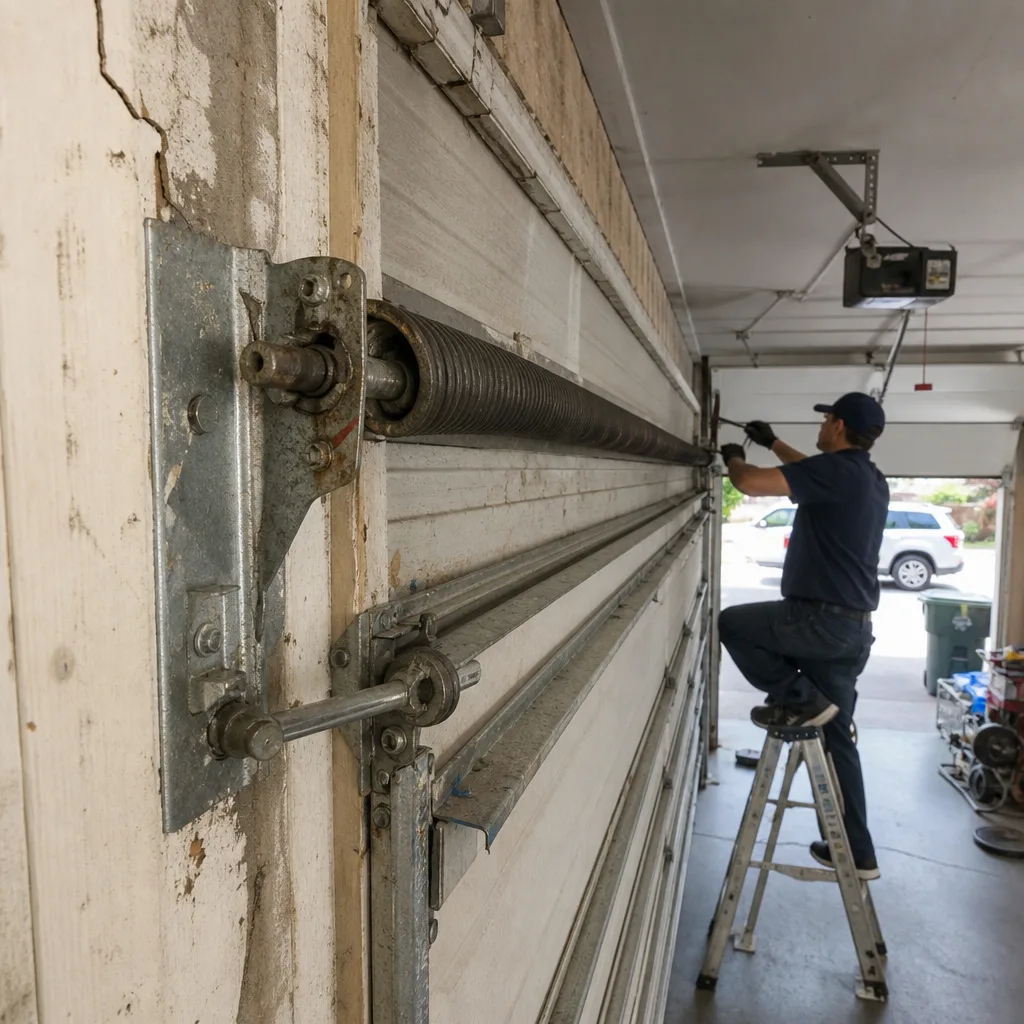
- Bottom bracket lag bolts. These are the bolts that hold the lower roller bracket to the bottom section of the door. They carry the most load because they anchor the cables that do the actual lifting. When they loosen, the cable goes slack, the door lifts crooked, and eventually the cable jumps the drum. That’s a $250 to $400 repair if you catch it early, and a broken spring or bent door if you don’t. Check these with a socket wrench every six months. You want them snug, not cranked. Overtightening into wood strips the threads, and then you have a bigger problem.
- Hinge bolts. Each door section meets the next at a hinge. Those hinges flex slightly with every cycle, and the bolts that hold them to the door face work themselves loose over time. You’ll hear a rattle when the door moves if they’re loose. A 7/16-inch socket tightens most of them in under two minutes.
- Track mounting bolts. The vertical and horizontal tracks are held to the wall and ceiling with lag screws. When the door hits the top of its travel or reverses hard, those lags absorb the shock. Over a few hundred cycles, they loosen. A loose track lets the door drift sideways, and then the rollers start binding, and then the opener motor starts working harder than it should.
Torque-spec reality check: most residential garage door bolts don’t need a torque wrench. You need them snug against the metal, with maybe an eighth of a turn past hand-tight. If you’re leaning into the wrench, you’re going too far. Stripped threads in a door section mean drilling new holes or replacing the section, and that’s a hundred-dollar mistake that cost nothing to avoid. The fasteners most likely to loosen are the ones that move the most: bottom bracket bolts first, then hinge bolts, then track lags. Check them in that order.
The Noise Map: Squeaks, Skips, and Shudders
Garage doors talk. Most people just don’t know the dialect. Here’s a translation guide based on the sounds I hear most often in Garland homes:
- A high-pitched squeak that happens only when the door moves almost always means dry rollers or a dry bearing. Rollers have sealed bearings that eventually lose their lubrication. Metal-on-metal squeak = worn roller bearing. The fix is usually replacing the rollers, not oiling them. Once a bearing is dry enough to squeak, the damage is done. New nylon rollers run about $15 to $25 installed per roller, and they’re quieter than the steel ones that came with the door.
- A skip or a thump mid-travel means a flat-spotted roller or a dent in the track. When a roller hits a flat spot, it hops instead of rolling. You’ll feel it as a small jerk in the door. If it’s a dent in the track, the roller catches the dent at the same spot every cycle. A flat-spotted roller is a quick fix. A dented track may need a section replacement or a track realignment, and that’s a more involved job.
- A shudder or vibration at the top of the travel usually means the door is out of balance and the opener is fighting the last few inches. It can also mean the opener’s capacitor is going weak. A dying capacitor can’t supply the surge of power the motor needs to start, so the opener shudders before it gets moving. Capacitors are cheap, around $30 to $50 for the part, and replacing one is a 20-minute job. If you ignore the shudder, the opener motor burns itself out, and that’s a $400 to $600 replacement.
- A grinding noise from the opener itself usually means the plastic gears inside the opener are stripping. LiftMaster and Chamberlain openers made since the early 2000s use a plastic gear as a sacrificial part. When the door is out of balance or the springs are weak, the opener works harder than it should, and the gears strip. The gear kit costs about $30, but the labor is an hour or more because the whole opener has to come apart.
The point is this: the three sounds you’re hearing could cost $40, $200, or $600, and they sound almost identical to an untrained ear. Roller wear sounds different from track misalignment, which sounds different from a dying capacitor, but you’d only know that if you’ve heard all three a hundred times. I have. If the sound changes pitch or gets louder over a week, don’t wait. The noise is the early warning system, and the longer you ignore it, the more expensive the translation.
Lubrication: What to Hit and What to Skip
Most garage door maintenance advice gets lubrication wrong. The generic wisdom says “lube the moving parts,” and homeowners spray WD-40 on everything that moves, including the plastic gears in their belt-drive opener. Then they call me because the opener is making a grinding noise and the belt is slipping. I’ve seen it in Garland more times than I can count.
Here’s what actually needs lubrication on a residential garage door:
- Rollers with exposed metal bearings. If your rollers are the old steel type with visible ball bearings at the wheel, a light spray of white lithium grease on the bearing helps. Nylon rollers with sealed bearings don’t need lubrication, and anything you spray on them just attracts dust.
- Hinges. A small squirt of white lithium grease or silicone spray on each hinge pivot point, once or twice a year, keeps them moving smoothly.
- Track curves. The curved section where the vertical track meets the horizontal track is where friction lives. A light coat of silicone on the inside of the curve reduces wear on the rollers. Do NOT grease the full length of the track. Grease on the track collects Garland dust and turns into a sticky paste that makes the door work harder.
- Springs. Torsion springs, the ones on a bar above the door, benefit from a light spray of silicone or white lithium grease along the coil. It reduces friction between the coils as they twist. Extension springs, the ones along the sides, don’t need much, but a light coat on the pulleys helps.
What you skip matters more than what you hit. Never lubricate the plastic gears inside your opener. Never lubricate the belt on a belt-drive opener. Never spray anything on the safety sensors or near the opener’s circuit board. Plastic gears and belts are designed to run dry. Adding lubricant attracts fine dust, and that dust becomes a mild abrasive. I’ve replaced openers in Garland that died early because someone with good intentions sprayed the internal gears with WD-40 every spring. The opener would have lasted another five years if they’d never touched it.
Safety Sensors and Auto-Reverse: The Monthly Test
Since 1993, every residential garage door opener sold in the United States has been required to include two safety mechanisms: infrared sensors near the floor on each side of the door, and a pressure-sensing auto-reverse in the opener motor. Both are designed to stop the door if something is in the way. Both fail silently. And both are easy to test in under five minutes once a month.
The sensor test is straightforward and I recommend doing it the first weekend of every month:
- Check the sensor alignment. Each sensor has a small light. When the two sensors are aligned and working, both lights glow solid. If one light is blinking or dark, the sensors are misaligned or something is blocking the beam. Walk over, wipe the lenses with a dry cloth, and nudge the sensor bracket until the light goes solid.
- Test the beam. With the door open, wave your hand in front of one sensor while pressing the wall button to close. The door should stop and reverse immediately. If it doesn’t, the sensors aren’t talking to the opener, and the door will close on anything in its path.
- Test the auto-reverse pressure sensor. Put a solid object on the ground in the door’s path, something unbreakable like a two-by-four or a cinder block. Close the door. The door should contact the object, stop, and reverse within two seconds. If it keeps pressing down, the pressure sensor is set too high or has failed. That’s a dangerous door.
I recommend homeowners perform this test monthly in Garland, not because the equipment fails monthly, but because a door that fails the test once is a door you need to know about the day it happens, not the day after an accident. The sensor system is simple and reliable, but it’s also the first thing that gets knocked out of alignment by a broom handle, a box, or a kid’s bike. Testing takes less time than checking the air in your tires, and the stakes are higher.
Spring Balance: The 15-Second Test That Predicts a Breakdown
Your garage door springs are the workhorses of the whole system. A standard 16-by-7-foot door weighs about 150 to 200 pounds. The springs counterbalance that weight so the opener only has to manage the difference, not the whole load. When the springs start to weaken, the opener works harder. When a spring breaks, the door won’t lift, and the opener can’t help you.
Garage door springs have a rated cycle life. Most standard springs are rated for 10,000 cycles. A cycle is one open and one close. Garland homeowners open and close their garage door about four times a day, which is 1,460 cycles a year. That means a spring rated for 10,000 cycles lasts about seven years. If your springs are older than that, you’re on borrowed time. I count spring cycles the way you count tire miles, and I’ll tell you what’s left on yours when I look.
The balance test takes 15 seconds and tells you if your springs are still doing their job:
- Pull the red emergency release cord while the door is closed. The cord disconnects the opener from the door.
- Lift the door by hand until it’s halfway open.
- Let go.
If the door stays at the halfway point, your springs are balanced. If the door drops, the springs are weak and need attention soon. If the door climbs on its own, the springs are overpowered, which is rare but happens when someone installs the wrong springs. Either way, the test tells you where you stand before the opener does.
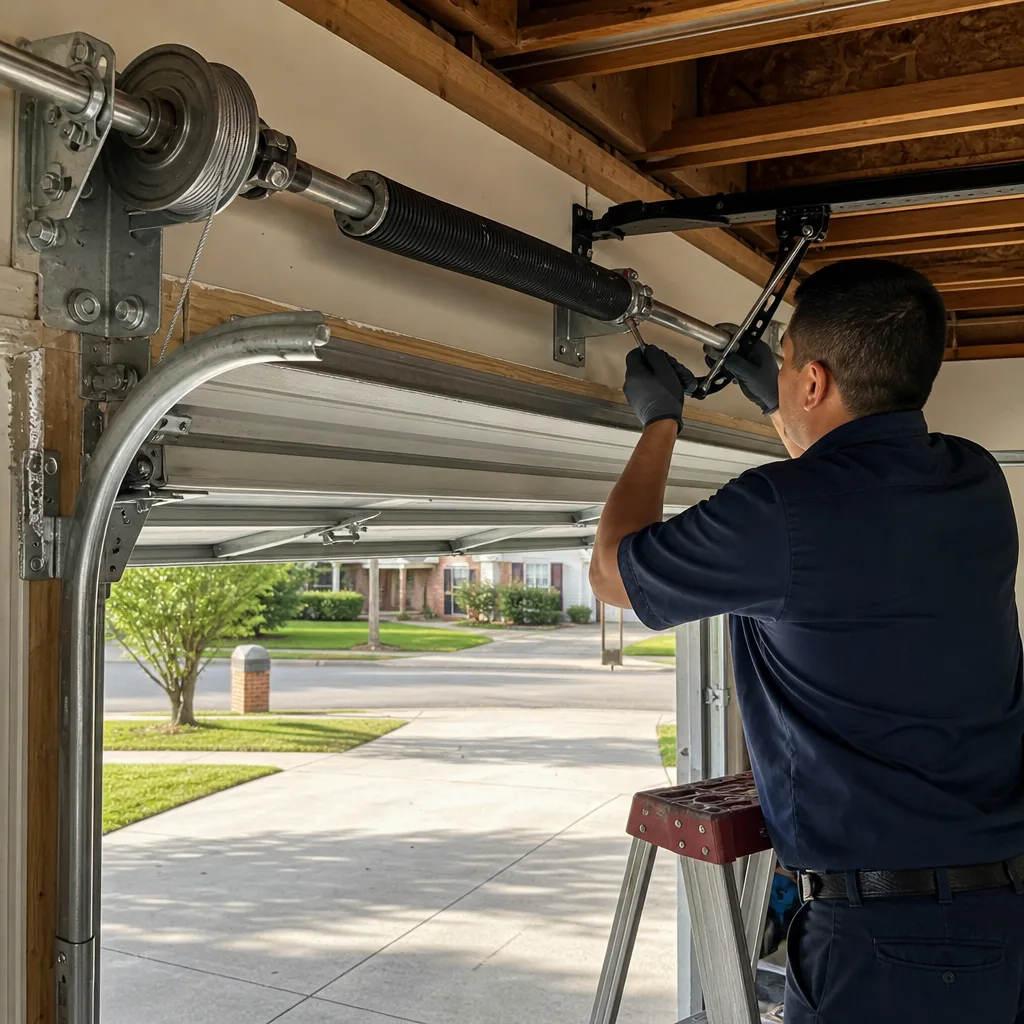
One important note: do not try to adjust or replace torsion springs yourself. The torsion system is under hundreds of pounds of tension. When a spring lets go, it can take a hand or an eye with it. Even I treat a loaded torsion spring the way I treat a loaded firearm: with respect, and with specific steps, and never casually. If your balance test shows a problem, leave the door down, plug the opener back in so it holds, and call a pro. For Garland homeowners, the call is Garage Door Repair in Garland from Otto’s Garage Door, and I’ll quote you on the phone.
Garland Seasonal Record-Keeping: What to Check Before Summer Heat and Cold Snaps
A checklist that lives in a drawer does you no good. The best maintenance schedule is one tied to the seasons you already notice. In Garland, that’s the first brutal heat wave of June and the first real cold snap in late November or early December. Both seasons stress your door in different ways.
Before summer heat:
- Tighten all fasteners. The thermal expansion of a 100-degree day will loosen bolts that were snug at 70 degrees. Do this in May, before the daily heat cycles start, and again in October.
- Lubricate rollers, hinges, and springs. Summer dust in Garland is fine and gritty. A fresh coat of lubricant before the dust season starts helps the bearings survive until fall.
- Test the auto-reverse. The heat doesn’t affect the sensors directly, but the garage door frame shifts slightly as the wood and metal expand, and misaligned sensors are more common in summer.
- Check the opener’s chain or belt tension. Heat softens belts slightly, and a belt that was tight in spring may slip by August.
Before North Texas cold snaps:
- Run the balance test. Cold temperatures make metal contract and stiffen, and a spring that was marginal in October will fail completely in January. The cold snap is when I get the most broken-spring calls in Garland.
- Check the bottom seal. The rubber strip along the bottom of the door keeps cold air and rain out of the garage. When it’s cracked or flattened, cold air pours under the door, and your garage heater works overtime. Replacement seals cost under $30 and take 20 minutes.
- Inspect the weather stripping on the sides and top. Same reason as the bottom seal, but the sides matter for wind-blown rain and drafts.
- Listen for a loud, metallic bang when the door moves in cold weather. That’s the sound of a spring losing tension, and it means the spring will break soon. Call before it does.
Keep a simple record. A notebook page with four columns: date, what you checked, what you found, and what you did. Or a note on your phone. The key is that you write it down. Six months from now, when the door sounds different, you’ll know what you checked, when you checked it, and what changed. That record is worth more than any generic checklist I could ever give you, because it’s your door’s history in your own handwriting.
For homeowners replacing a worn door entirely, Garage Door Installation in Garland walks through what a new Amarr or Wayne Dalton door costs and what the process looks like from measure to install.
Common Mistakes to Avoid
- Spraying WD-40 on everything that moves. WD-40 is a solvent and a water displacer, not a lubricant. It cleans off grease and then evaporates, leaving metal dry. Use white lithium grease or garage-door-specific silicone spray on moving metal, nothing on plastic or rubber.
- Ignoring a squeak because “it’s always done that.” It hasn’t always done that. The squeak started when a bearing went dry, and it will end when the bearing fails. An $18 roller replacement beats a $300 track repair.
- Trying to adjust torsion springs without the right tools and training. Torsion springs hold lethal tension. A door is 200 pounds riding on two springs, and those springs will take a hand or an eye before you can react. Respect it. This is the one repair I tell every Garland homeowner never to attempt.
- Ignoring the balance test because the opener still works. The opener is not designed to lift the full weight of the door. When the springs die, the opener becomes the lifting motor, and it wears out in a fraction of its rated life. A $350 spring replacement is cheaper than a $600 opener replacement.
- Lubricating the belt or chain on the opener. Belts and chains are designed to run dry. Lubricant attracts dust, and Garland has plenty of dust. A gritty belt slips, and then you replace the belt instead of just leaving it alone.
- Waiting until the door won’t open to call. By the time the door fails completely, the problem has usually been building for weeks. The balance test, the noise checks, and the fastener tightening are all designed to catch the problem while it’s still a $20 fix.
When to Call a Professional
Some garage door problems are straightforward and safe to fix yourself. A loose bolt, a misaligned sensor, a worn bottom seal: those are Saturday morning jobs. But if your balance test shows the door dropping or climbing, or if you hear a sharp bang and the door won’t move, stop. Don’t force the door. Don’t try to release the opener. Don’t crawl under a partially open door. The springs are not a DIY project, and the door is heavier than you think.
Other times to call: the door is off its tracks, the cables are frayed or hanging loose, the opener makes a grinding noise from the unit itself, or you’ve tightened, lubricated, and aligned everything and the door still runs rough. Otto’s Garage Door offers free estimates in Garland, and a live person answers the phone when you call (945) 202-2600. I’ll quote the repair on the call and hold that number at your door. For opener-specific issues, Garage Door Opener in Garland covers what fails and what it costs.
Frequently Asked Questions
Twice a year is right for Garland’s climate: once in May before the summer heat and once in October before the first cold snap. The safety sensor test should be monthly. It takes under five minutes. The balance test takes 15 seconds and can be done with the seasonal check. Write the results down, even just in a note on your phone. The record matters more than the frequency.
Broken torsion springs are the number-one repair call I get in Garland, and they spike in January when the first real cold snap hits. Springs are rated for about 10,000 cycles, which works out to roughly seven years of normal use. If your springs are older than that, plan for replacement before emergency strikes. A proactive spring replacement is cheaper and far less disruptive than a spring that breaks on a Monday morning with your car inside.
A typical torsion spring replacement on a single garage door in Garland runs between $180 and $340, including the springs, labor, and a balance adjustment. Double doors or high-cycle springs cost more, usually $350 to $550. The exact number depends on the door’s weight and the spring size. I quote the price on the phone before I come out, and that price doesn’t change when I get there. Call (945) 202-2600 for an exact quote; estimates are free.
You can absolutely lubricate your garage door yourself, and I encourage it. The key is using the right product and hitting the right parts. White lithium grease or garage-door silicone on rollers, hinges, and springs, twice a year, covers 95 percent of what needs lubricating. Skip the opener’s internal gears, the belt, and the sensors. If you’re unsure what to hit and what to skip, call Otto’s Garage Door and ask. The person who answers will tell you.
That bang is the sound of a torsion spring releasing tension, and it usually means the spring is failing. Cold temperatures make the metal more brittle, and a spring that survived the summer will break in January. If you hear the bang, the door won’t open reliably afterward, and the opener can’t lift 200 pounds on its own. Call (945) 202-2600 and I’ll come out the same day in Garland. The bang is the warning shot. Don’t ignore it.
Three warning signs tell you an opener is dying: a shudder or hesitation when the motor starts, a grinding noise from the unit, and a door that reverses for no reason. The first usually means the capacitor is failing. The second usually means the plastic gear is stripping. The third usually means the circuit board is going. None of these fix themselves. A $50 capacitor saves a $400 opener replacement. If yours is doing any of these, call (945) 202-2600 for a straight answer.
For more detail on what we inspect and how we work, start at the Otto’s Garage Door home page.
The Bottom Line
A garage door maintenance checklist only works if it tells you what to look for and what to do about what you find. In Garland, that means tightening the fasteners that Texas heat loosens, listening to the difference between a cheap roller and an expensive opener problem, lubricating only the metal parts, testing the safety sensors monthly, and checking spring balance before the seasons change. Fifteen minutes twice a year prevents most of the calls I make, and you’ll find more guides & resources on our blog. Half an hour a year saves most homeowners several hundred dollars and at least one Friday afternoon. The name on the van is the same name on the invoice and the license, and I’ve been in this county since 2004. If you’d rather hand the checklist to someone else, Otto’s Garage Door is twenty minutes away and the phone rings live, day or night.
Written by Otto Reinhardt, Owner at Otto’s Garage Door, serving Garland since 2004.